
In my previous writing I went over some of the pre-req’s for getting a bootable copy of ProxmoxVE onto a USB stick. Now that you have your bare metal ready to go, be sure that you have the option to change the boot order or select your USB as a temporary boot device. Check your manual on how to do this or hop onto your search engine of choice for the steps needed. I’d cover it here, but there are just too many manufacturers with slightly different settings. Let’s proceed with our ProxmoxVE Install!
Note: Just a heads up that you might want to double check some of the optimal configurations for a Proxmox host by clicking the button below. I’ve updated running multiple disks and how that can give you a performance boost rather than running the system OS with VMs on the same disk.
Let’s Get It Installed!
From here we’ll go through the steps involved in quickly getting Proxmox install. Further documentation is available on their website: https://www.proxmox.com/en/
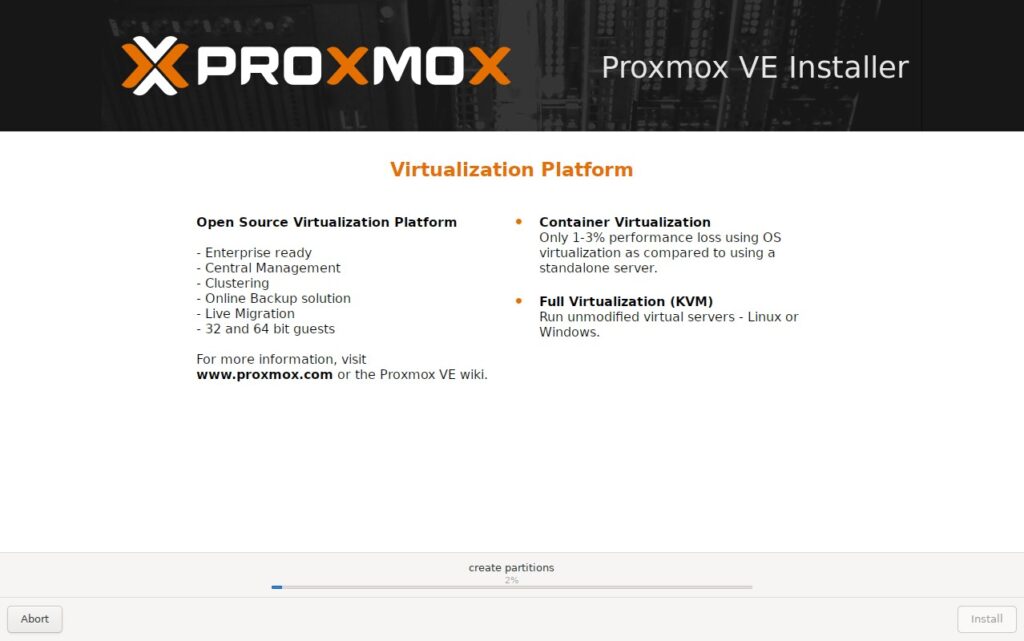
Here is a slide deck of the whole process. Scroll down for a step by step with explanations.
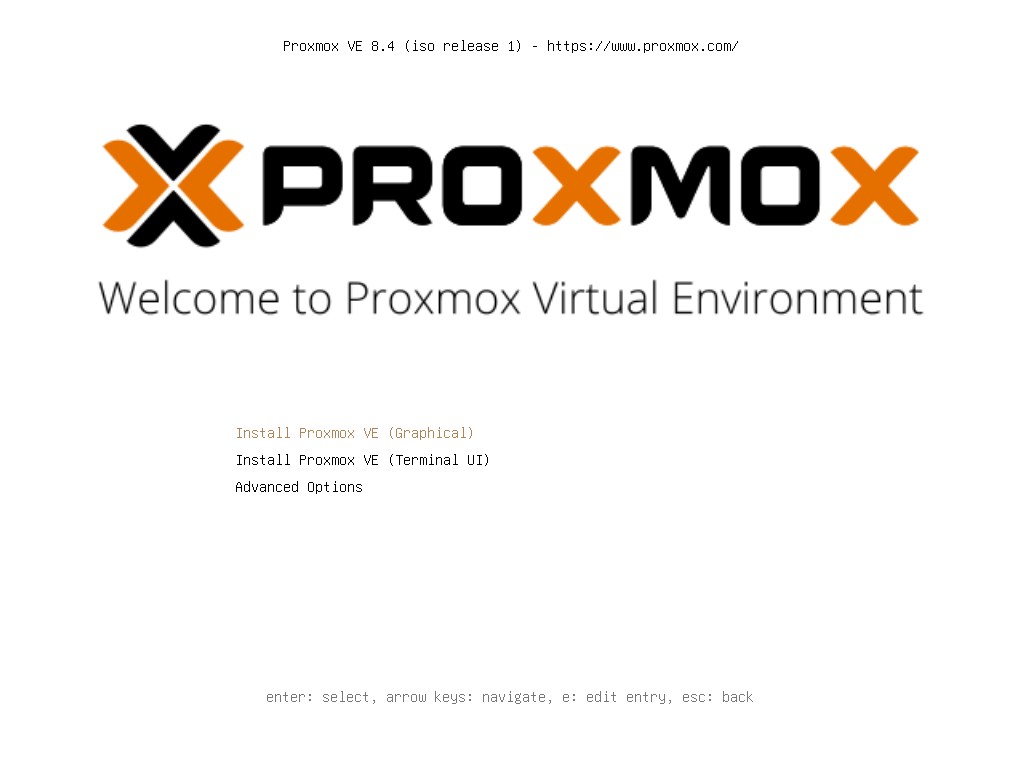
Install Proxmox VE (Graphical) should be highlighted by default. You should be able to just hit enter.
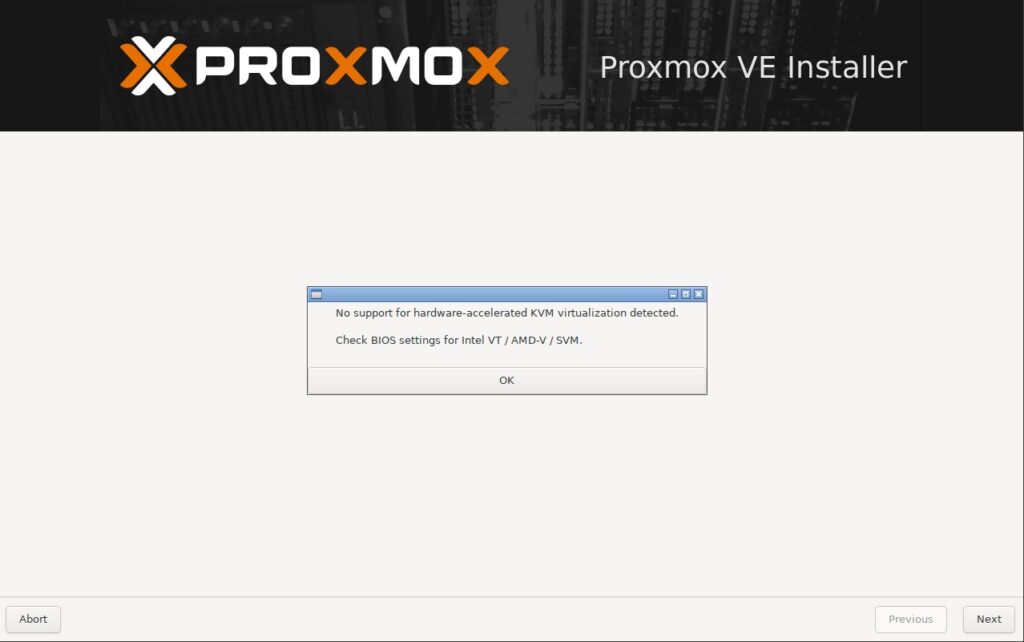
You may see this error come up. What it’s saying is that it’s missing some CPU settings that you should check for in the BIOS. This is typically on by default, but it may need to be turned on. If the option is missing (likely very old hardware) you can still install, but the performance won’t be optimal.
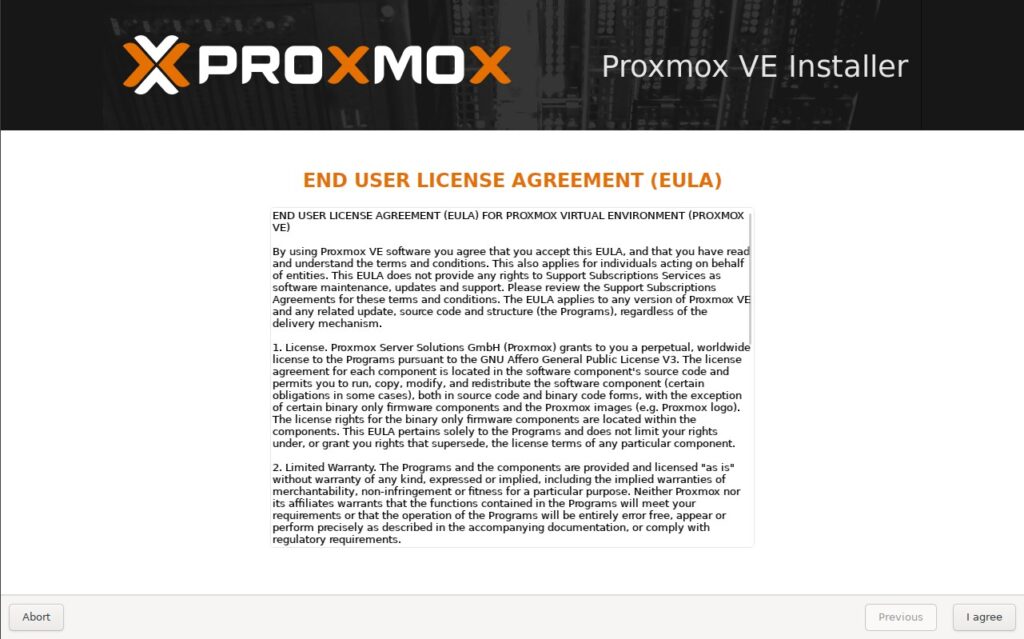
Have a look at the EULA. If all looks good, click I Agree on the right side.
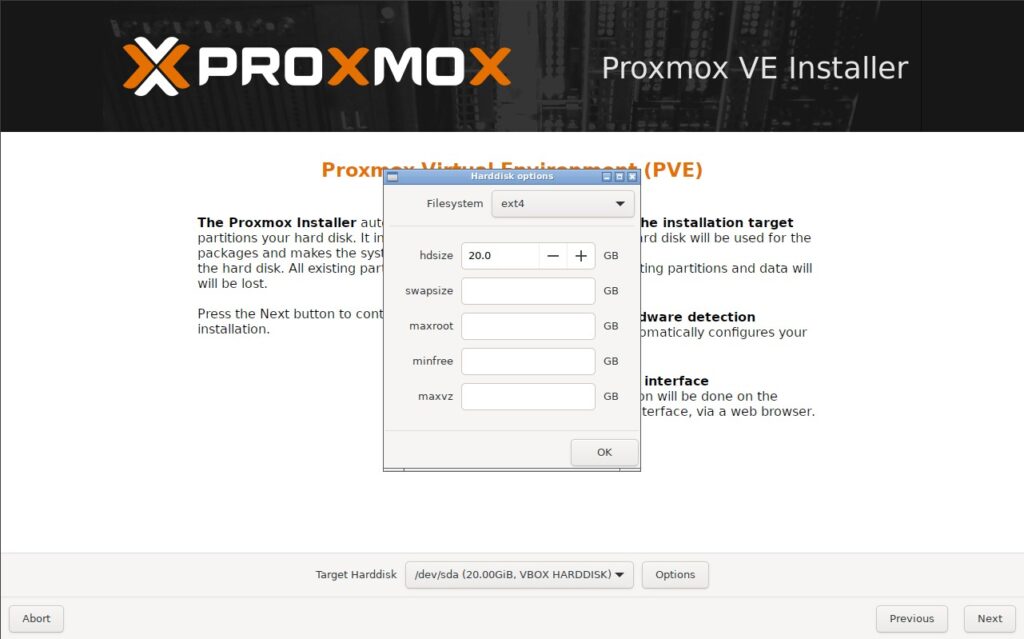
At this point in the installer, you have the option to select a Target Harddisk. This will be where the OS is installed. Typically I install this onto a smaller drive while having a 2nd or 3rd drive on fast storage for VMs. As mentioned above, check out the post for optimal settings.
Regardless of how many disks you have available, you should be able to install VMs alongside the OS storage.
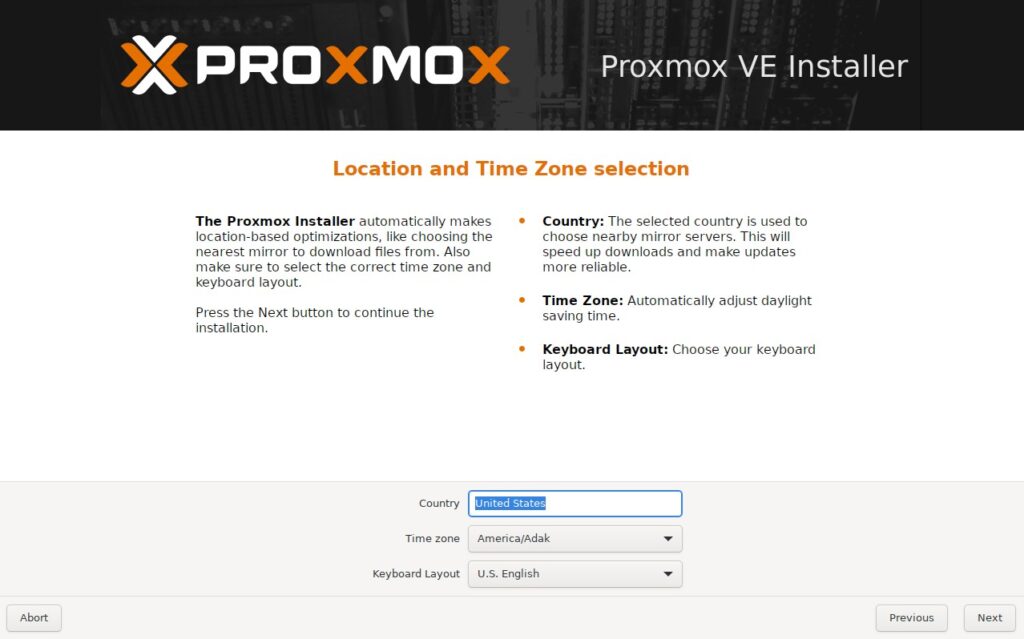
Here you’ll want to choose country, time zone and your typical keyboard layout.
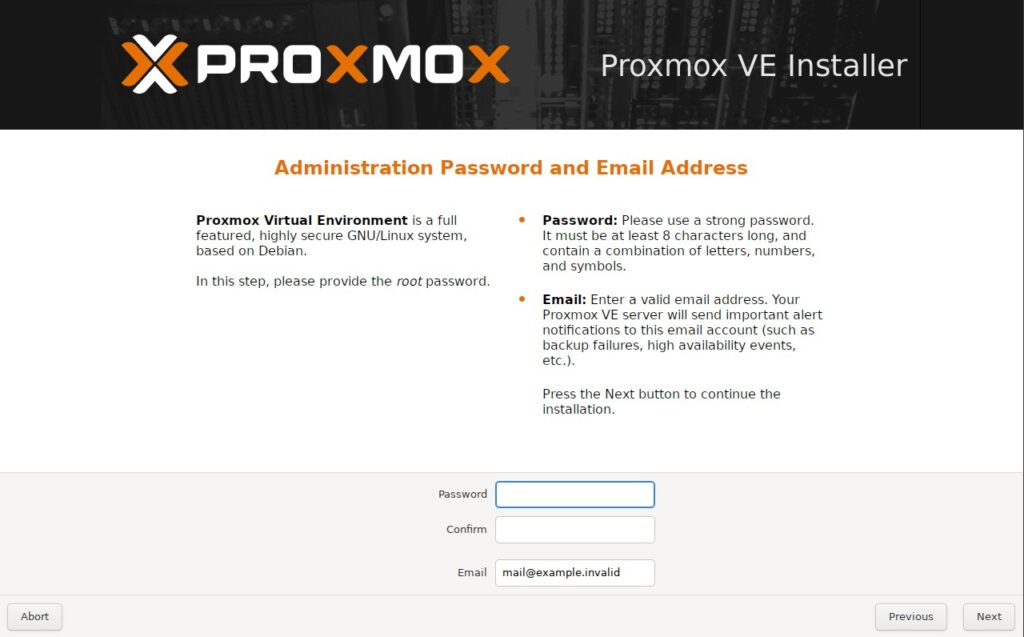
Create and confirm a secure password. You can enter an email here, but if you’re not wanting to put in an email address you can use something like “admin@localhost” to get past this piece of the install.
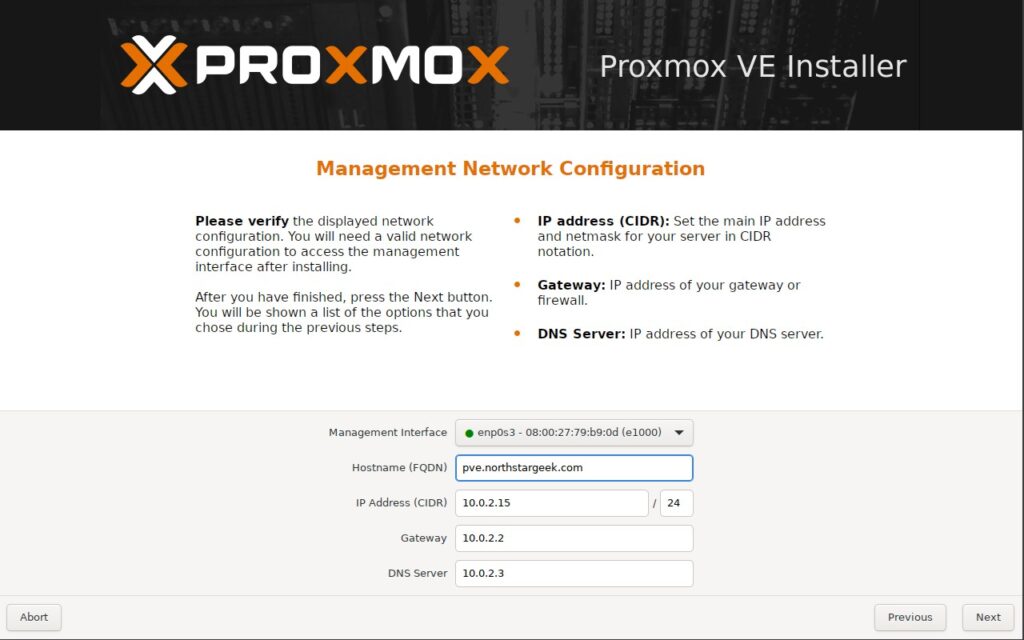
This part of the install deals with with the IP address of the new host. If you’ve already been through the prerequisites and have a static IP ready, you can assign that now. If you’re using an address within your DHCP scope, you can enter it now and reserve the IP once the machine comes back up.
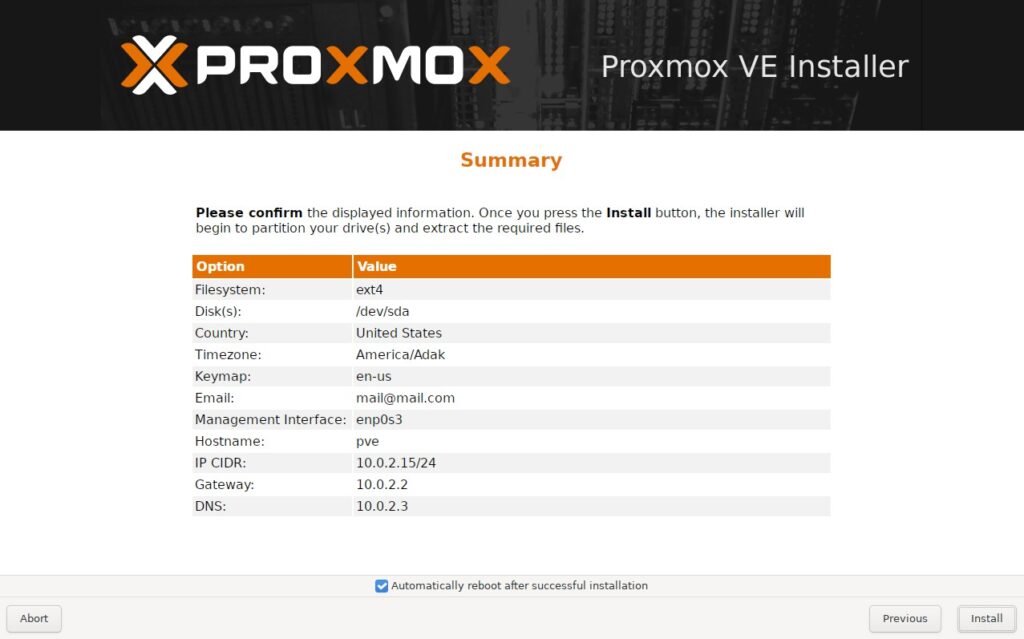
Here is the summary of the settings you’ve entered so far (without your password of course!). Notice the checkbox, bottom middle. System will reboot automatically after successful install. I leave this checked.
Install should start and restart when it’s done.
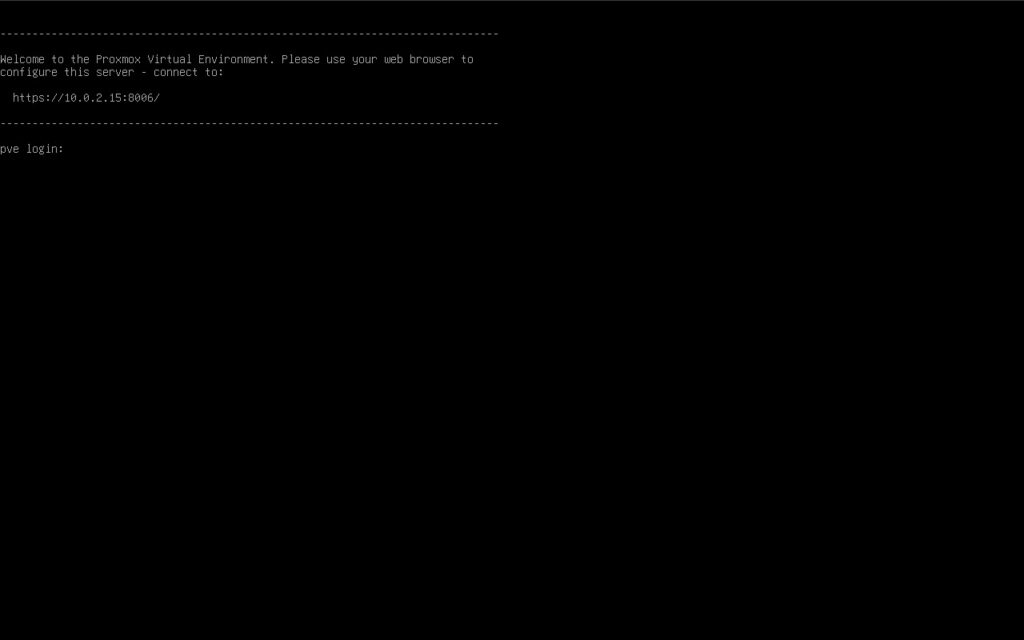
If everything went as it should have, you should end up looking at a screen like above. Enter the IP address exactly like stated above into your web browser and you should see a login prompt. System is installed!
Note: You may see a screen that is back at the installer GUI. You may need to shut down the system and unplug the USB drive to get it to boot from the hard disk OR change the order of your boot devices
Hooray! Proxmox is Installed!
That’s really all there is to it. At this point you should be able to log into Proxmox and explore a little bit. Next post we’ll go over installing Home Assistant!
If there are some things that aren’t completely clear, make sure to run through the pre-requisites one more time, then try the install again.
Stay Geek – NorthstarGeek